DIY Easter Egg Dye
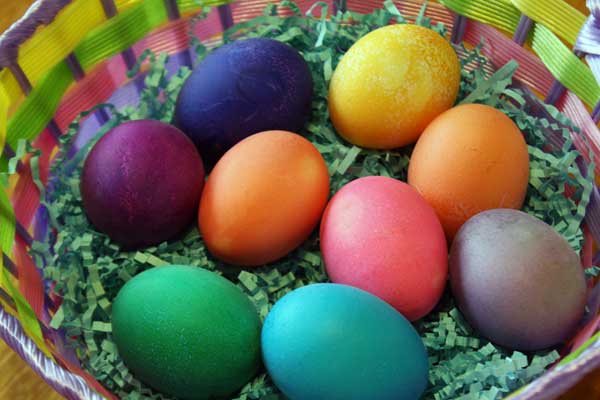
 If you’re dying Easter eggs this year, you don’t need a kit from the store. You probably have everything you need in your kitchen already. Using homemade dye gives you bright, rich colors, and you can have more variety of colors.
For supplies you’ll just needs eggs, food coloring, vinegar and hot water. You’ll also need a few tools: teaspoon, whisk and containers to hold your dye. You don’t have to hard boil eggs before dying, but it does make it less likely they will break. To make the eggs easy to peel, if you plan on eating them later, first bring water to boil in a pot then carefully drop in the eggs. Boil for 11 minutes. Take the eggs out of the hot water immediately and place in a bowl of cold water to cool.
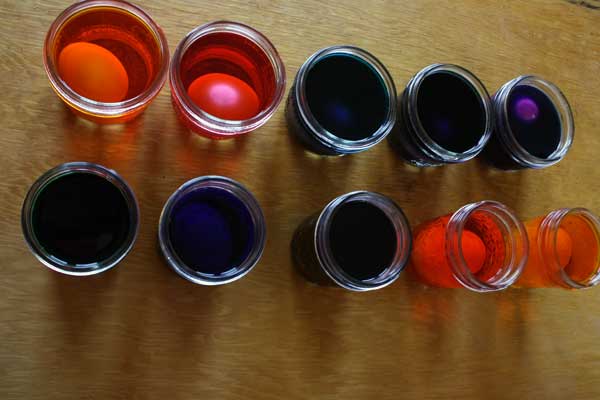
While the eggs cool, you can prepare the dye. Bring some clean water to a boil. Fill each of your dye containers with half a cup of boiling water. Then to each container add 1 teaspoon of vinegar. Now just decide what colors you want to use and add food coloring drops accordingly. Here are some basic formulas:
Pink: 14 drops red, 6 drops blue
Orange: 2 drops red, 17 drops yellow
Yellow: 14 drops yellow
Green: 14 drops green, 6 drops yellow
Blue: 4 drops blue
Violet: 2 drops red, 20 drops blue
Formulas for 40 different colors
When you add the drops, stir the liquid to combine. Place the eggs in the dye and let them soak for five minutes.
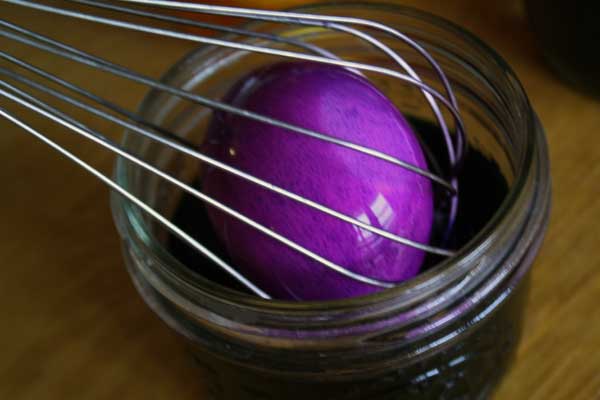
A whisk is an easy way to remove the eggs from the dye without coloring your fingers. Just gently push the whisk against the egg until it slips between the wires.
There are several ways you can dry you dyed eggs. I made a rack using a piece of styrofoam and wooden appetizer forks (you can use tooth picks) to rest my eggs on. It just makes it less likely that the dye will rub off before it sets.
And that’s one simple way to dye Easter eggs with items in your pantry.


